
Recently updated 5 min read
Attach images to a post
A clear, step-by-step guide to attach images to a post on Campus Ghost — with screenshots you can follow along.
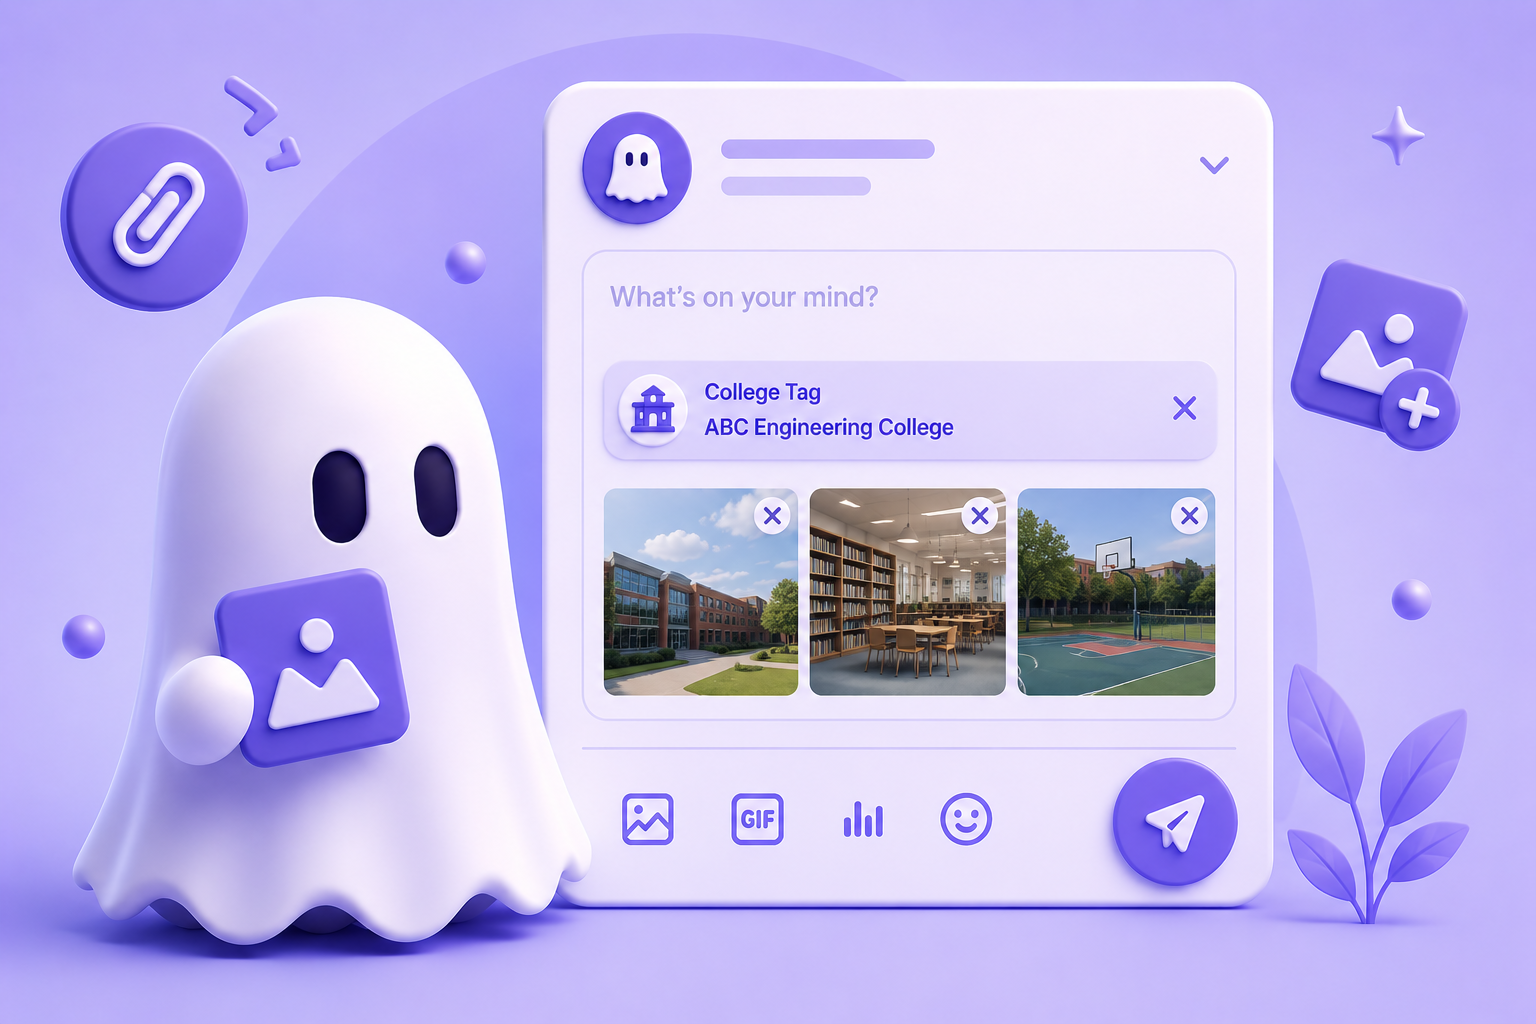
Step-by-step guide
- 1
Create a New Post
Tap on the New Post option to start creating your post.
- 2
Tap the Image Option
Tap the image icon in the post creation screen to select an image from your device.
- 3
Choose Your Image
Select the image you want to attach from your device. You can preview the selected image before publishing your post.
- 4
Remove or Change the Image
If you selected the wrong image, remove it from the preview and choose another image before publishing.
- 5
Publish Your Post
Add your post content, choose any relevant tags, and tap Post to publish it with the attached image.
Tips from the Campus Ghost team
- Keep your app updated — new privacy protections ship every few weeks.
- Your Ghost Identity is protected end-to-end. Even Campus Ghost cannot link a post back to your real name.
- If a screen looks different, tap Help inside the app for live, contextual guidance.
Frequently asked questions
Is this feature free to use?
Yes. Every core feature on Campus Ghost is free for verified students.
Will other students see my real identity?
No. Campus Ghost only ever shows your Ghost Identity in posts, comments and votes.
What if something goes wrong?
Reach out from Contact Support and our team will respond within 24 hours.
Screenshot gallery
Tap any image to open it full-size.